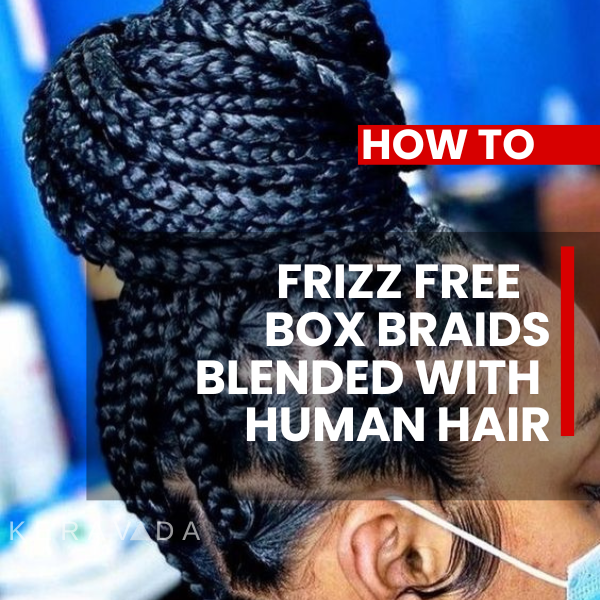
Mastering the Art of Blending Human Hair for Box Braids Without the Frizz
Having long, beautiful box braids is a gorgeous look that many people strive for. However, the process of installing extensions can quickly become frustrating when the added human hair doesn’t properly blend with your natural locks. Piecy, lackluster ends that frizz and flare out can ruin the sleek, polished finish you’re going for. By truly understanding the intricacies of working with human hair and mastering techniques that lock in moisture, you can help encourage the two hair types to mesh perfectly. This allows you to enjoy a head-turning style that moves fluidly and retains its shape for the duration.
Human Hair 101
Unlike coarse synthetic fibers, authentic human hair provides a seamless look that mimics the natural movement and feel of your own growing tresses. Remy and virgin hair options are considered highest quality as they come exclusively from donors and have never been chemically processed. The cuticles all run uniform in one direction as well, preventing matting and tangling within a style. When shopping for extensions, match both the look and feel of samples to your natural hair to ensure the best blend. Curly-haired ladies may enjoy a textured curl or wave for continuity. Those with very coarse strands should avoid hair labeled “silky”, while fine strands pair better with similar grades.
Feathering Is Fundamental
In order to create a gradual shift from your authentic locks to the added ones, meticulously feathering the ends of extension hair is paramount. This tapering effect helps disguise where your natural hair stops, contributing to the illusion of length. To begin, separate a small section of an extension bundle, roughly one inch wide. Very gently, rub the ends between your fingertips to encourage the banding to loosen so hairs start to splay out. Pull downward little by little to create a elongated, tapered finish. Be very delicate during this process to prevent any breakage or shedding. Work in increments down the length of each braid’s hair before installing.
Twisting Seals the Deal
After painstakingly feathering each segment of hair, prevent fraying by sealing the ends. Apply a lightweight, moisture-boosting oil or serum that contains ingredients like argan, jojoba, or avocado. Gently twist strands starting about two inches from the ends to encourage all the individual hairs to mesh together into one cohesive piece. This helps encase any shorter loose bits within the body of the twist so they don’t poke out and create flyaways later. Finish by smoothing excess product over the entire segment. This softens the blend even further while increasing shine and manageability.
Crocheting with Care
During installation at the braiding board, diligently crochet each segment slowly using a latch hook tool specially designed not to cut hair. A .6 mm width typically works well for achieving a secure hold without damaging delicate strands. Keep tension very loose during this process to prevent any pulling or breakage. Grip hair midway down the twisted length rather than at the fragile ends. Glide tool smoothly over each area just until the base is reached. Avoid repetitive tugging or friction which leads to frizzy, gnarled ends. Periodically finger comb completed hair as you work to encourage proper positioning within finished plaits.
The Hot Water Secret
As a finishing touch, dipping the bottoms of braids into hot water works wonders. Bring clean water nearly to a boil on the stove, then lower heat to keep it extremely warm – not scalding. Working section by section, submerge only the last two inches of hair, swishing gently through the water for 15-20 seconds before removing. The heat serves almost like an iron to seal in moisture and silkiness for days on end. This simple trick truly helps encourage the two textures to move as one. As hair dries, evenly position strands within plaits using fingers rather than hard tools. Be extremely cautious not to burn hands during this step.
Troubleshooting Tricky Textures
Sometimes despite our greatest efforts, box braids simply don’t turn out as sleek as envisioned. Various factors can come into play, from unintentionally choosing low-grade extensions to styling issues like allowing too much friction and handling when braiding. If hair stubbornly refuses to blend attractively, the easiest fix is simply to choose a different human hair grade for your next install. Having your stylist properly match texture and density based on a consultation is key. In the meantime, strategic trimming and angling of any damaged areas can help reduce bulk until you’re able to re-do hair. When all else fails, calling in a professional braider to assess and repair trouble spots can get you back on track.
Protecting Progress
Aside from aesthetics, properly caring for the hair we add to our heads is about nurturing our natural manes too. The delicate way we feather, seal, crochet and dip hair during the box braiding process helps defend the integrity of our natural locks as well, preventing breakage and damage from undue strain. In this manner, box braids can certainly act as protective styles when done properly, nurturing the hair and scalp beneath while allowing length retention over time. By learning specialized techniques for blending hair, we better safeguard our natural manes with each install. This allows us to enjoy the beauty benefits of box braids repeatedly over the years without risk to fragile strands.
In Closing
Achieving beautifully blended box braids using human hair extensions has indeed become an art form. But armed with insider tricks of the trade like feathering, twisting, gentle crocheting and hot water seals, you can master the illusion of seamless length too. Understanding how to carefully prep and install hair, then properly care for it over time, makes all the difference in your finished look. So embrace the tips and techniques discussed here to finally enjoy flowing, flawless braids that elegantly adorn you from roots to ends. Feel free to share your own lessons learned and favorite products for reducing frizz below!

